How IMABIRD.productions works
Turn long videos into short clips, refine them in the timeline, then export or schedule the finished result.
Generate your first cuts
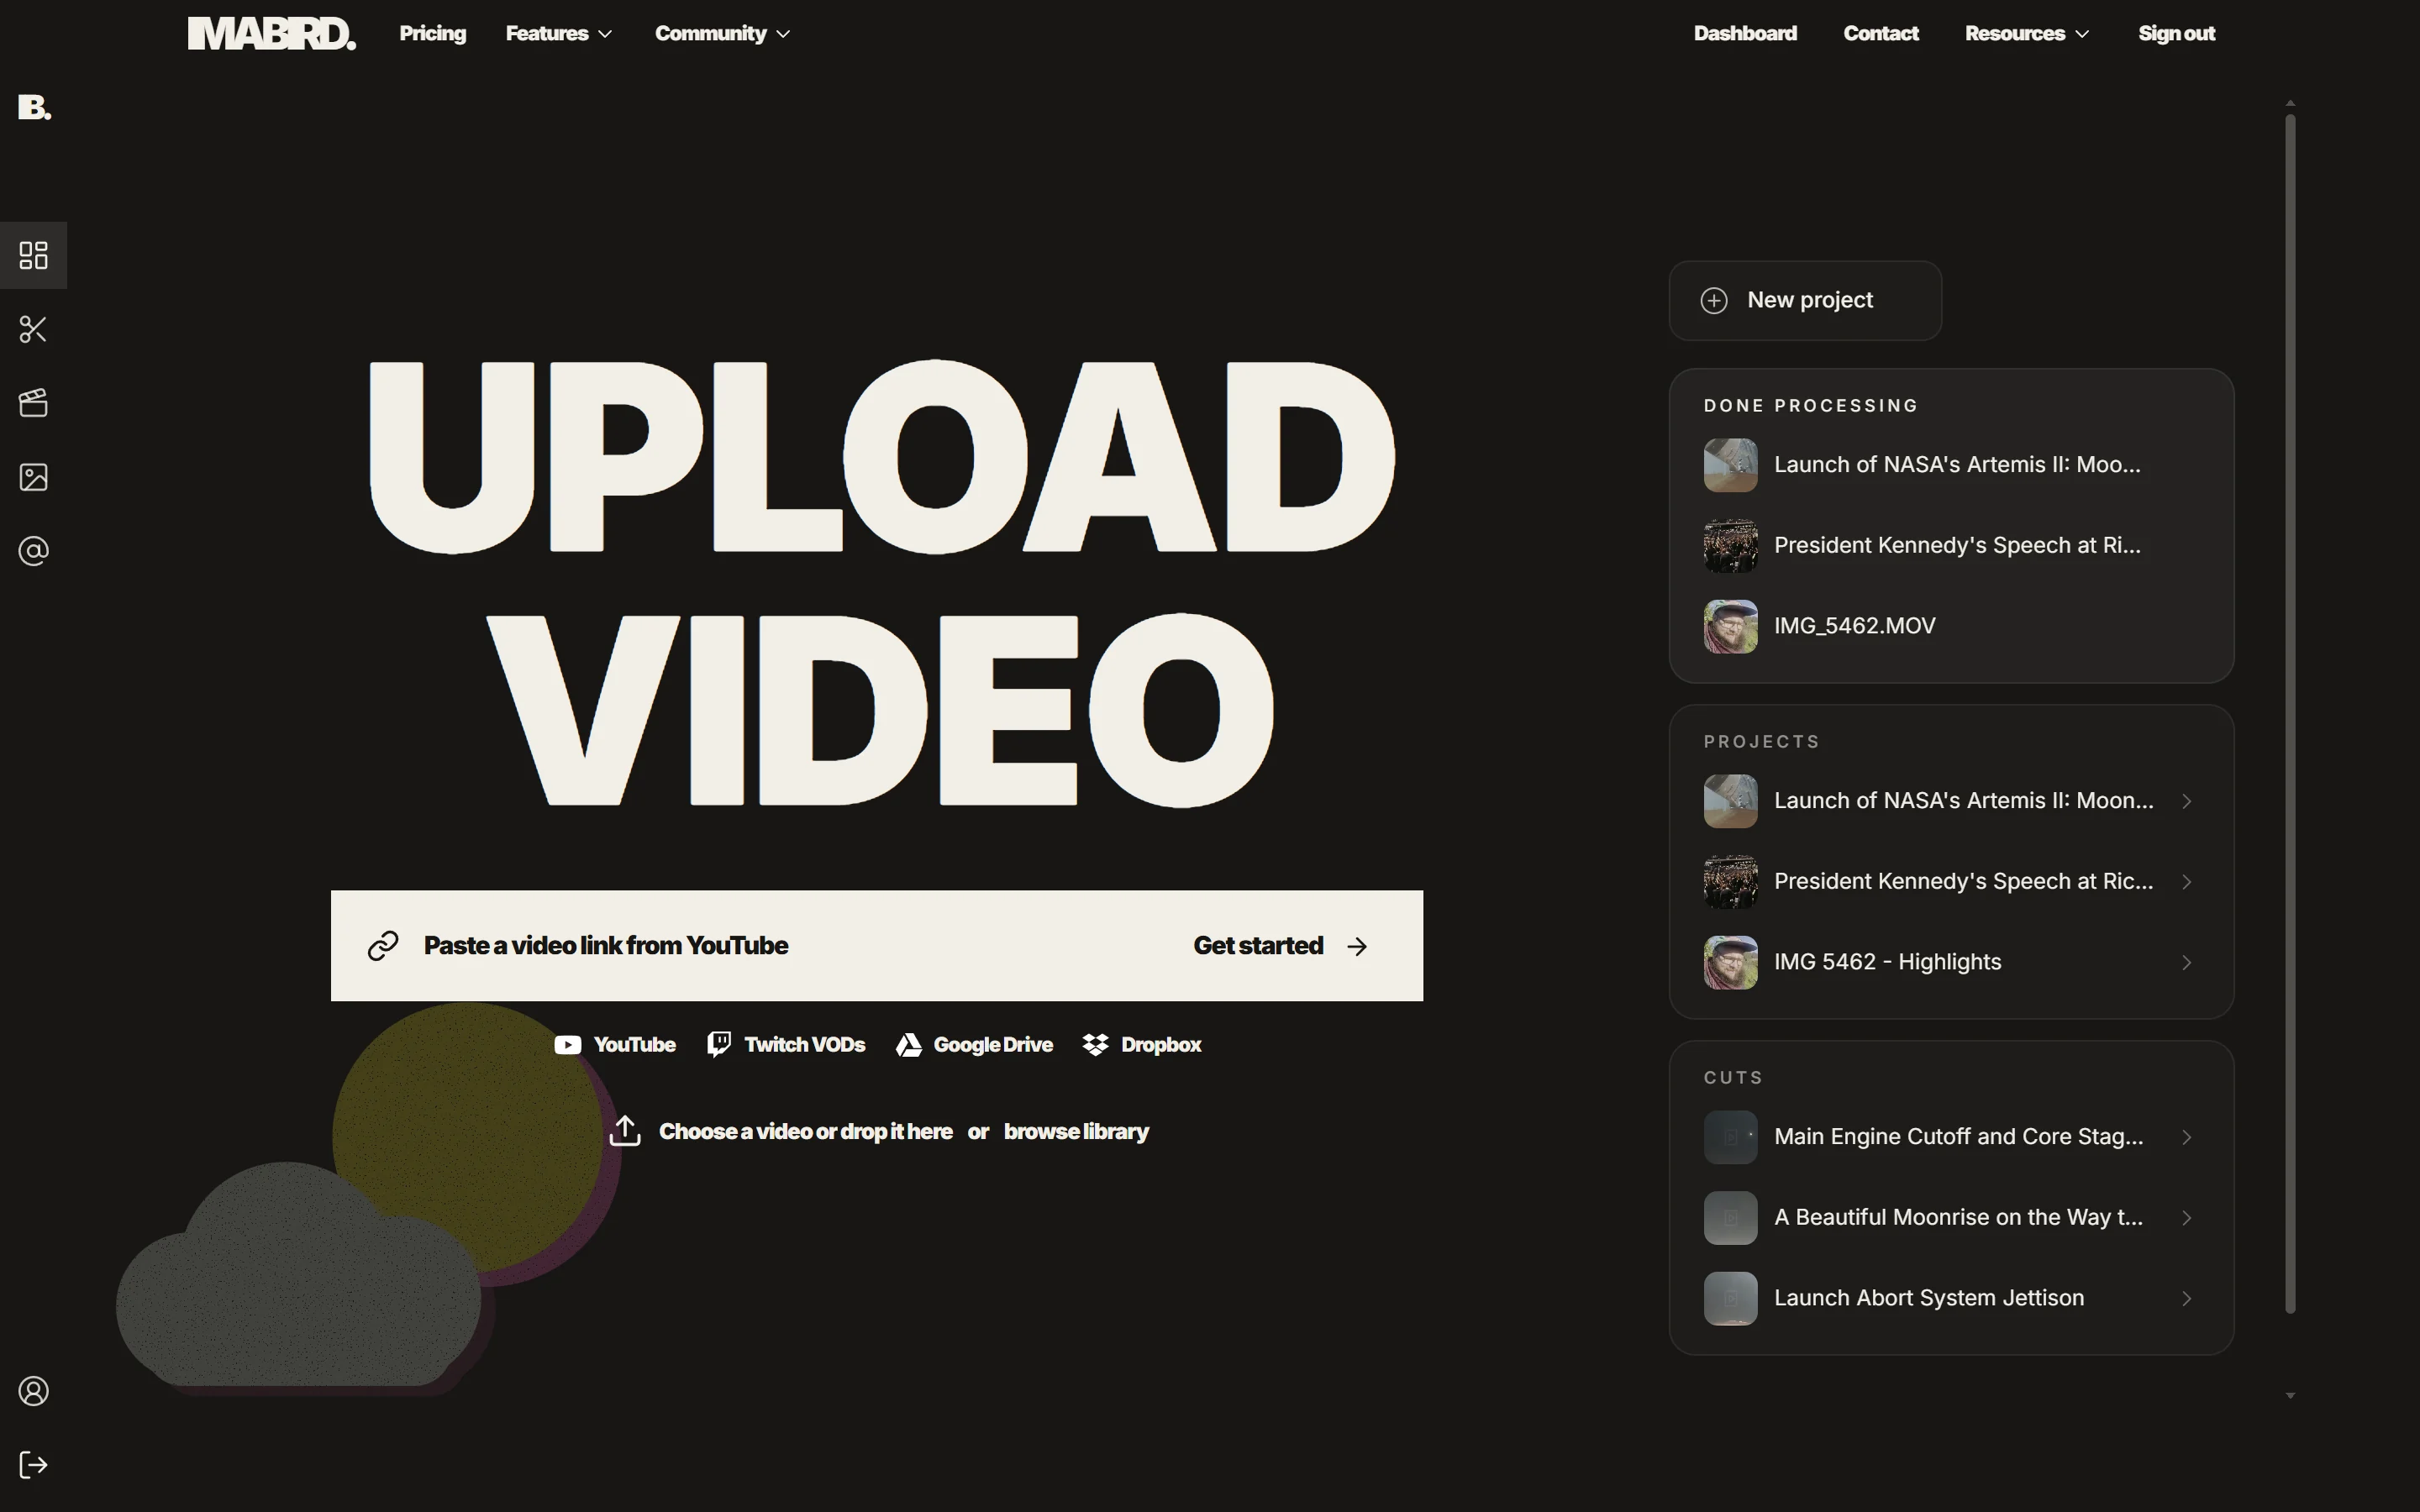
The dashboard is the fastest way to turn a long source video into short, usable clips.
- 01
Choose an existing video from your media library or upload a new video.
- 02
Select Generate to start a quick split using your active cut preset.
- 03
Keep the dashboard open or continue working while processing runs in the background.
- 04
Open a generated cut from Latest Cuts when it is ready.
Organize work in projects
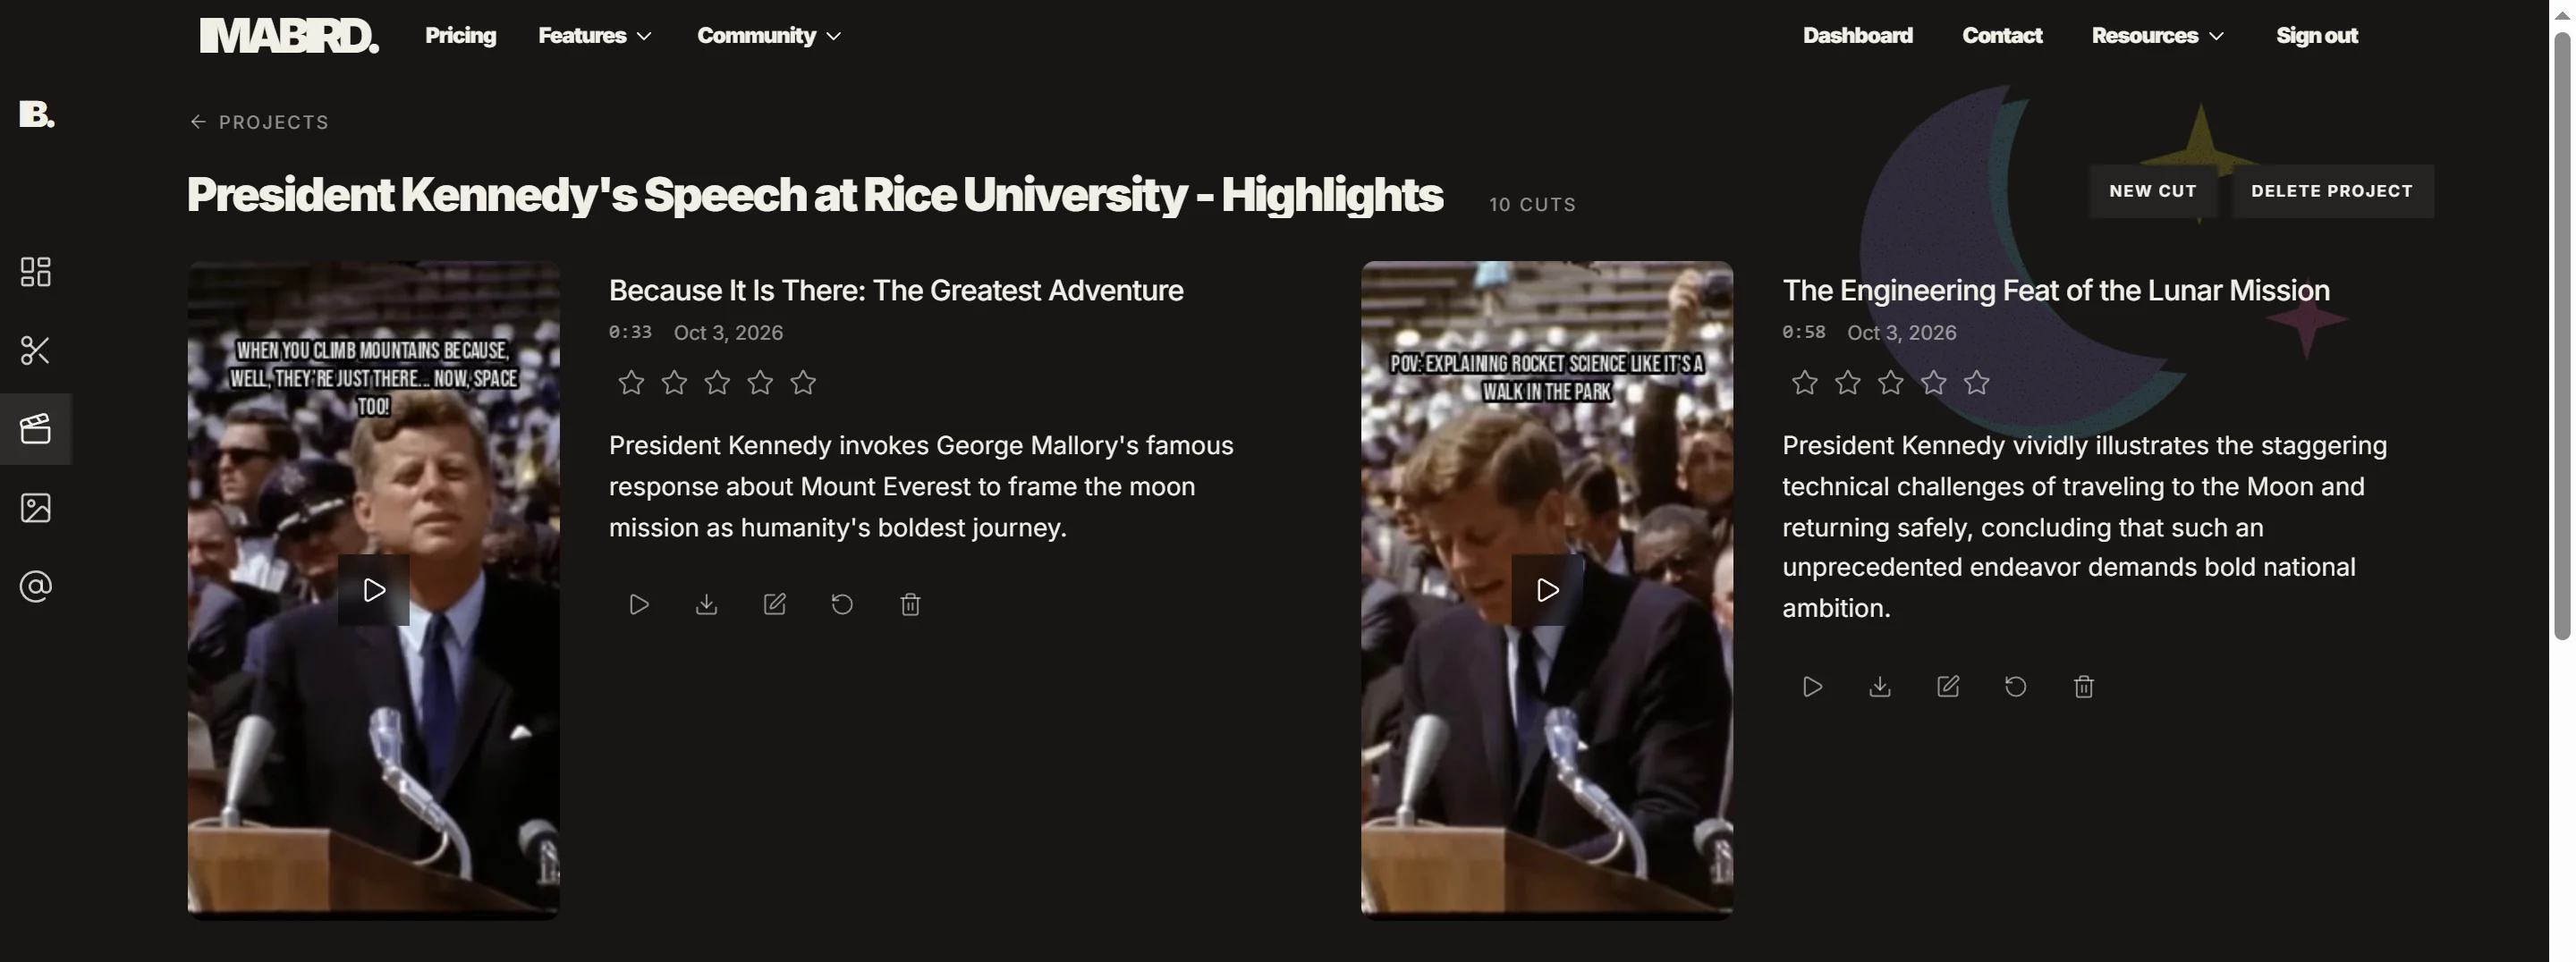
A project groups a source video and its generated cuts so the complete job stays together.
- 01
Open Projects to create a project or return to an existing one.
- 02
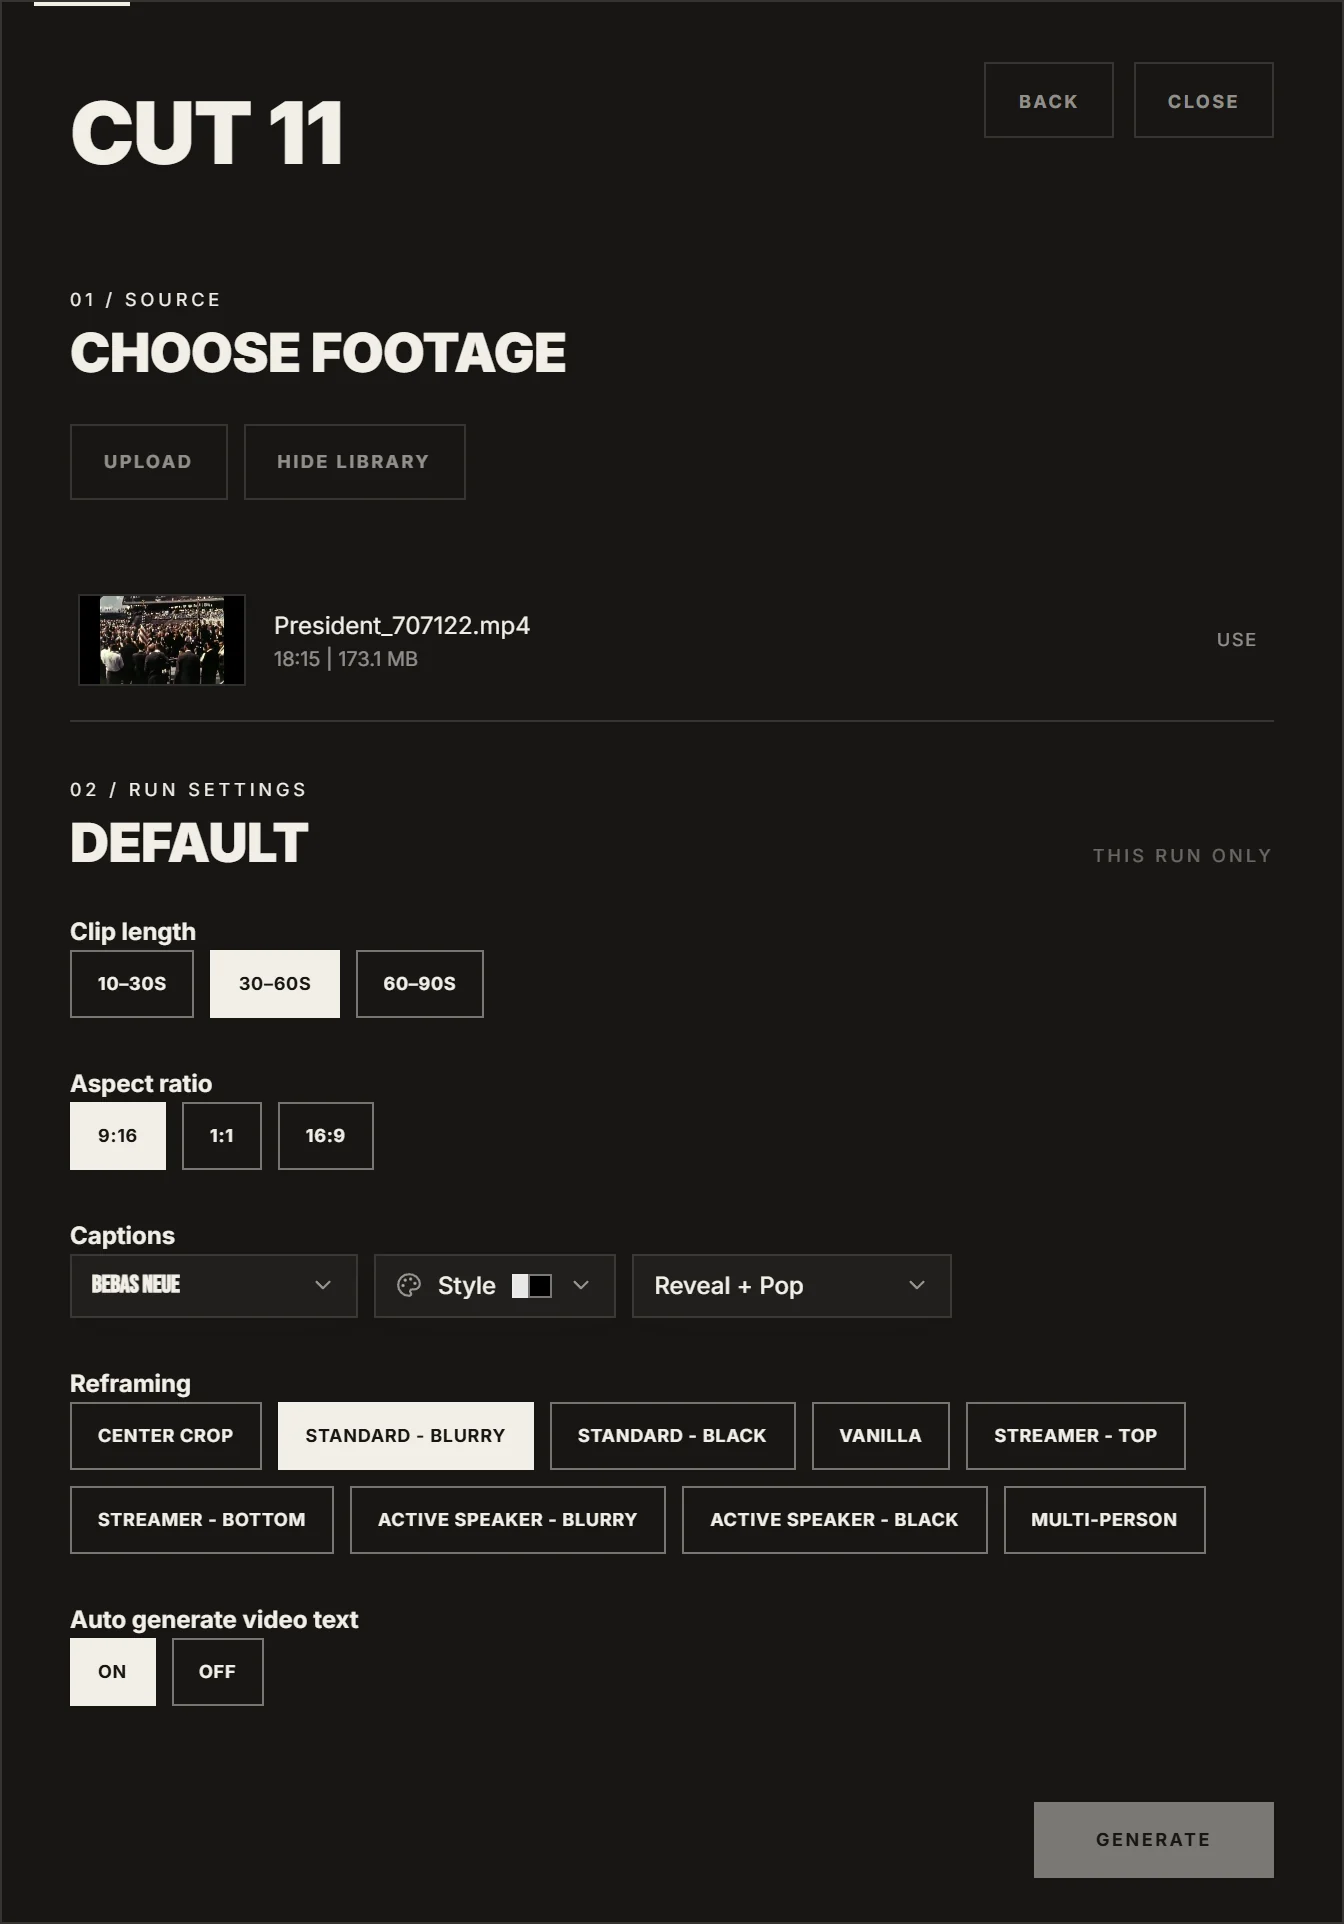
Start a cut and choose the AI cuts workflow.
- 03
Upload a source or select one from Browse Library.
- 04
Review the active cut preset, then generate the cuts.
- 05
Use Save & Close if you want to keep the setup as a draft before processing.
Review and shape each cut
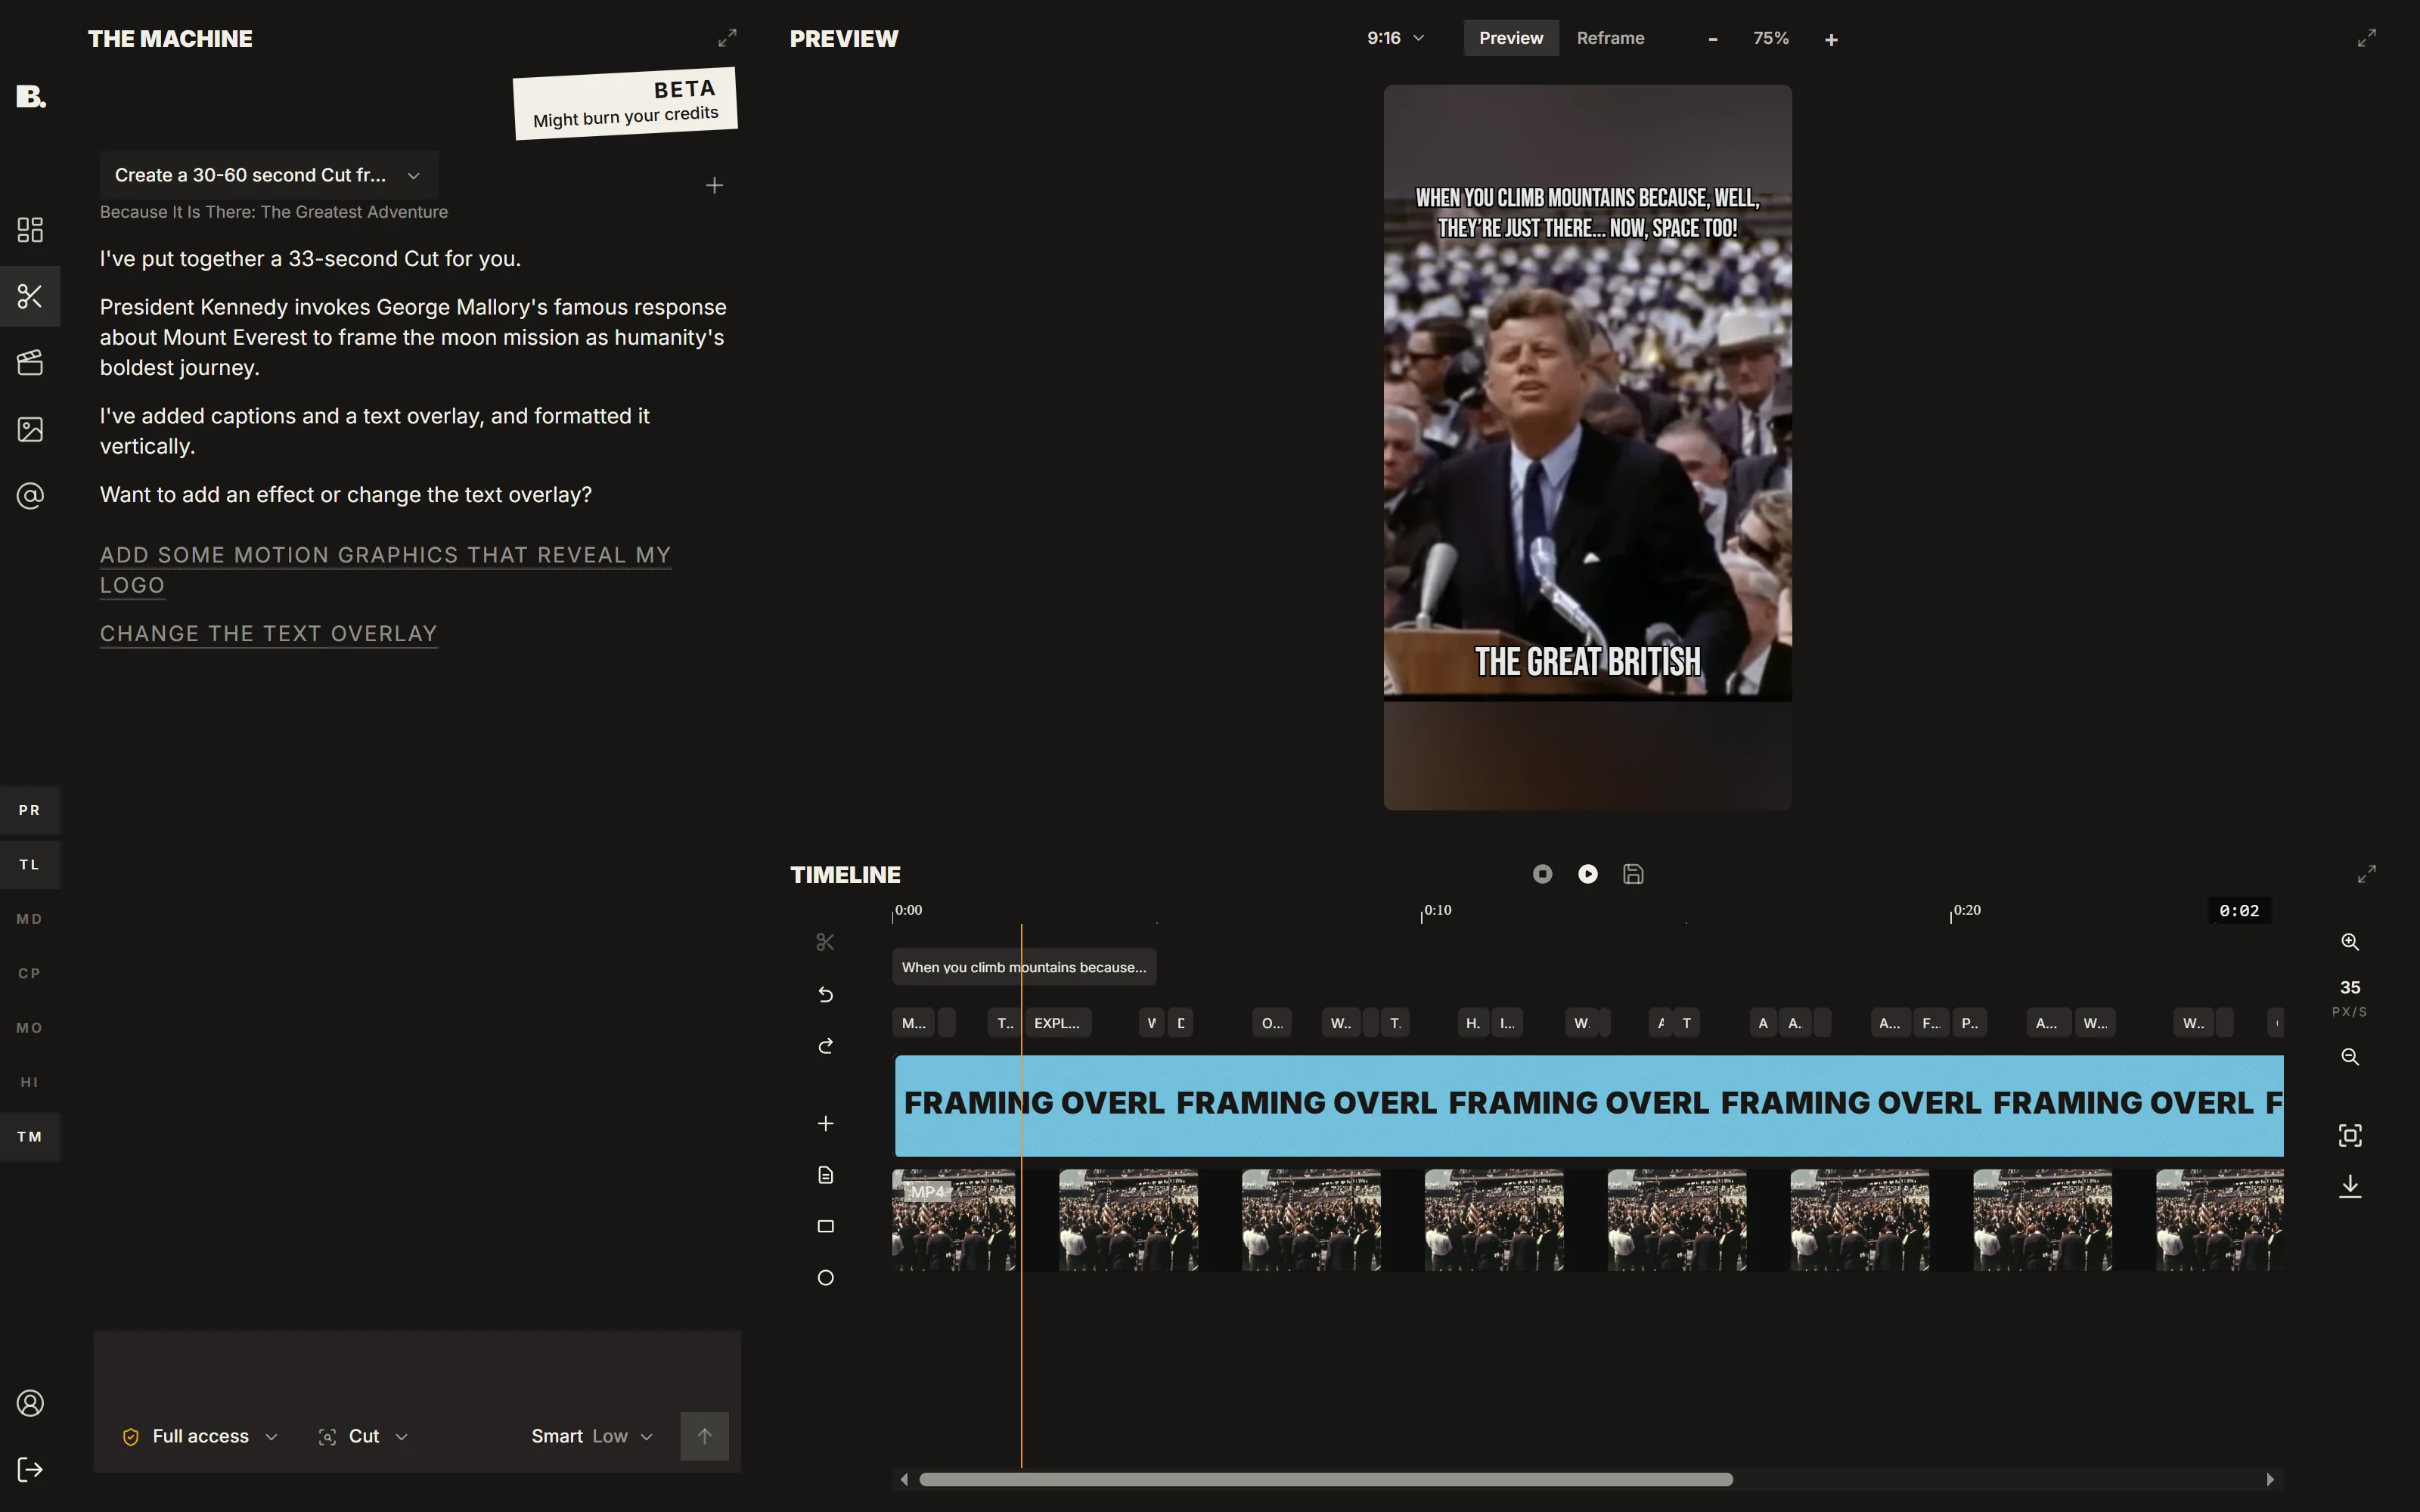
AI creates the first edit. The timeline editor gives you precise control over the final result.
- 01
Open a cut from its project or from Latest Cuts.
- 02
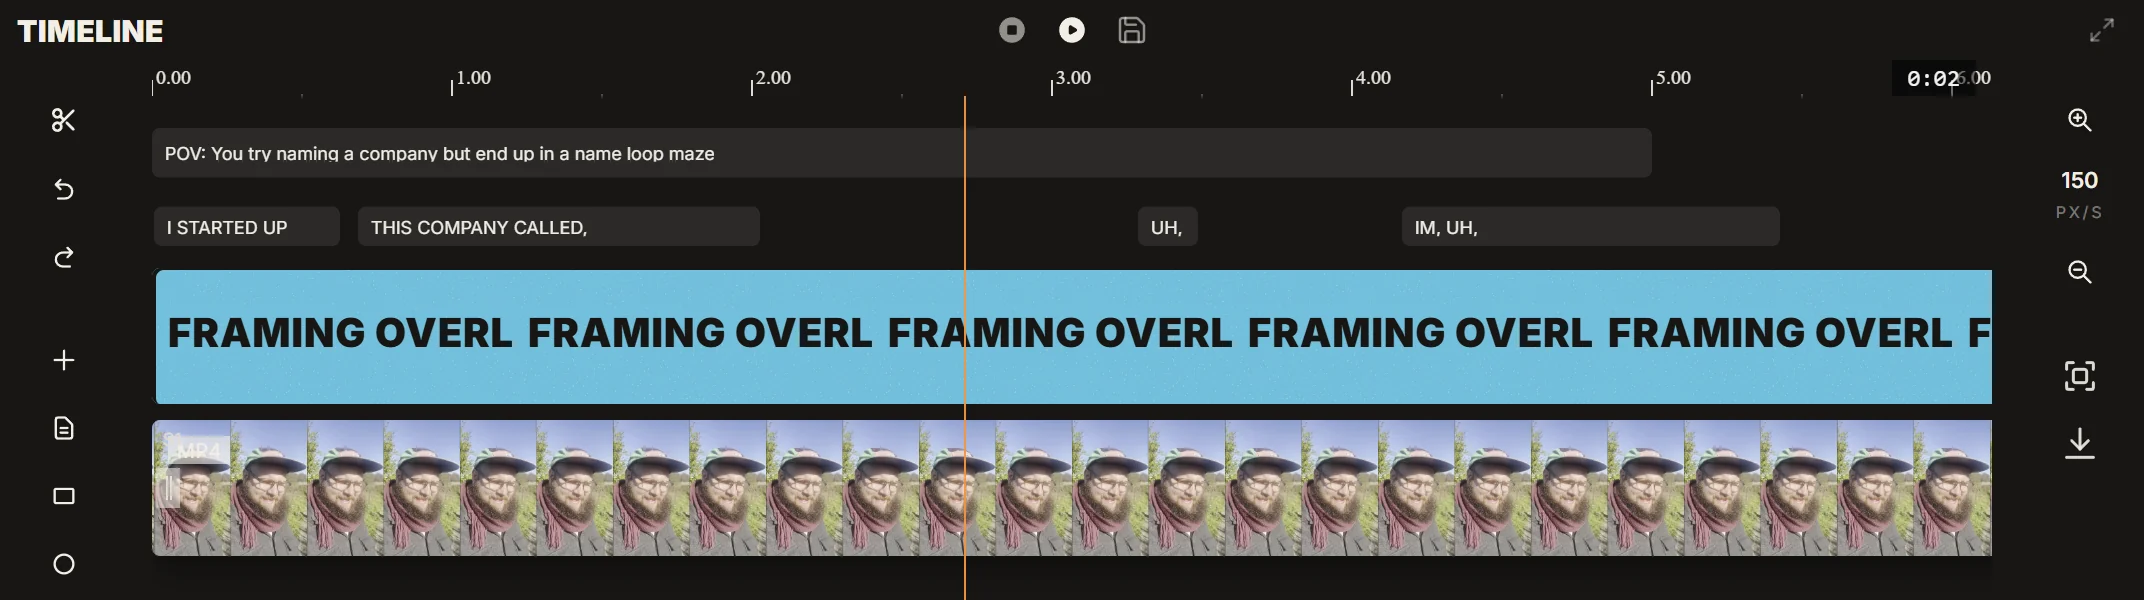
Trim clips and move moments directly on the timeline.
- 03
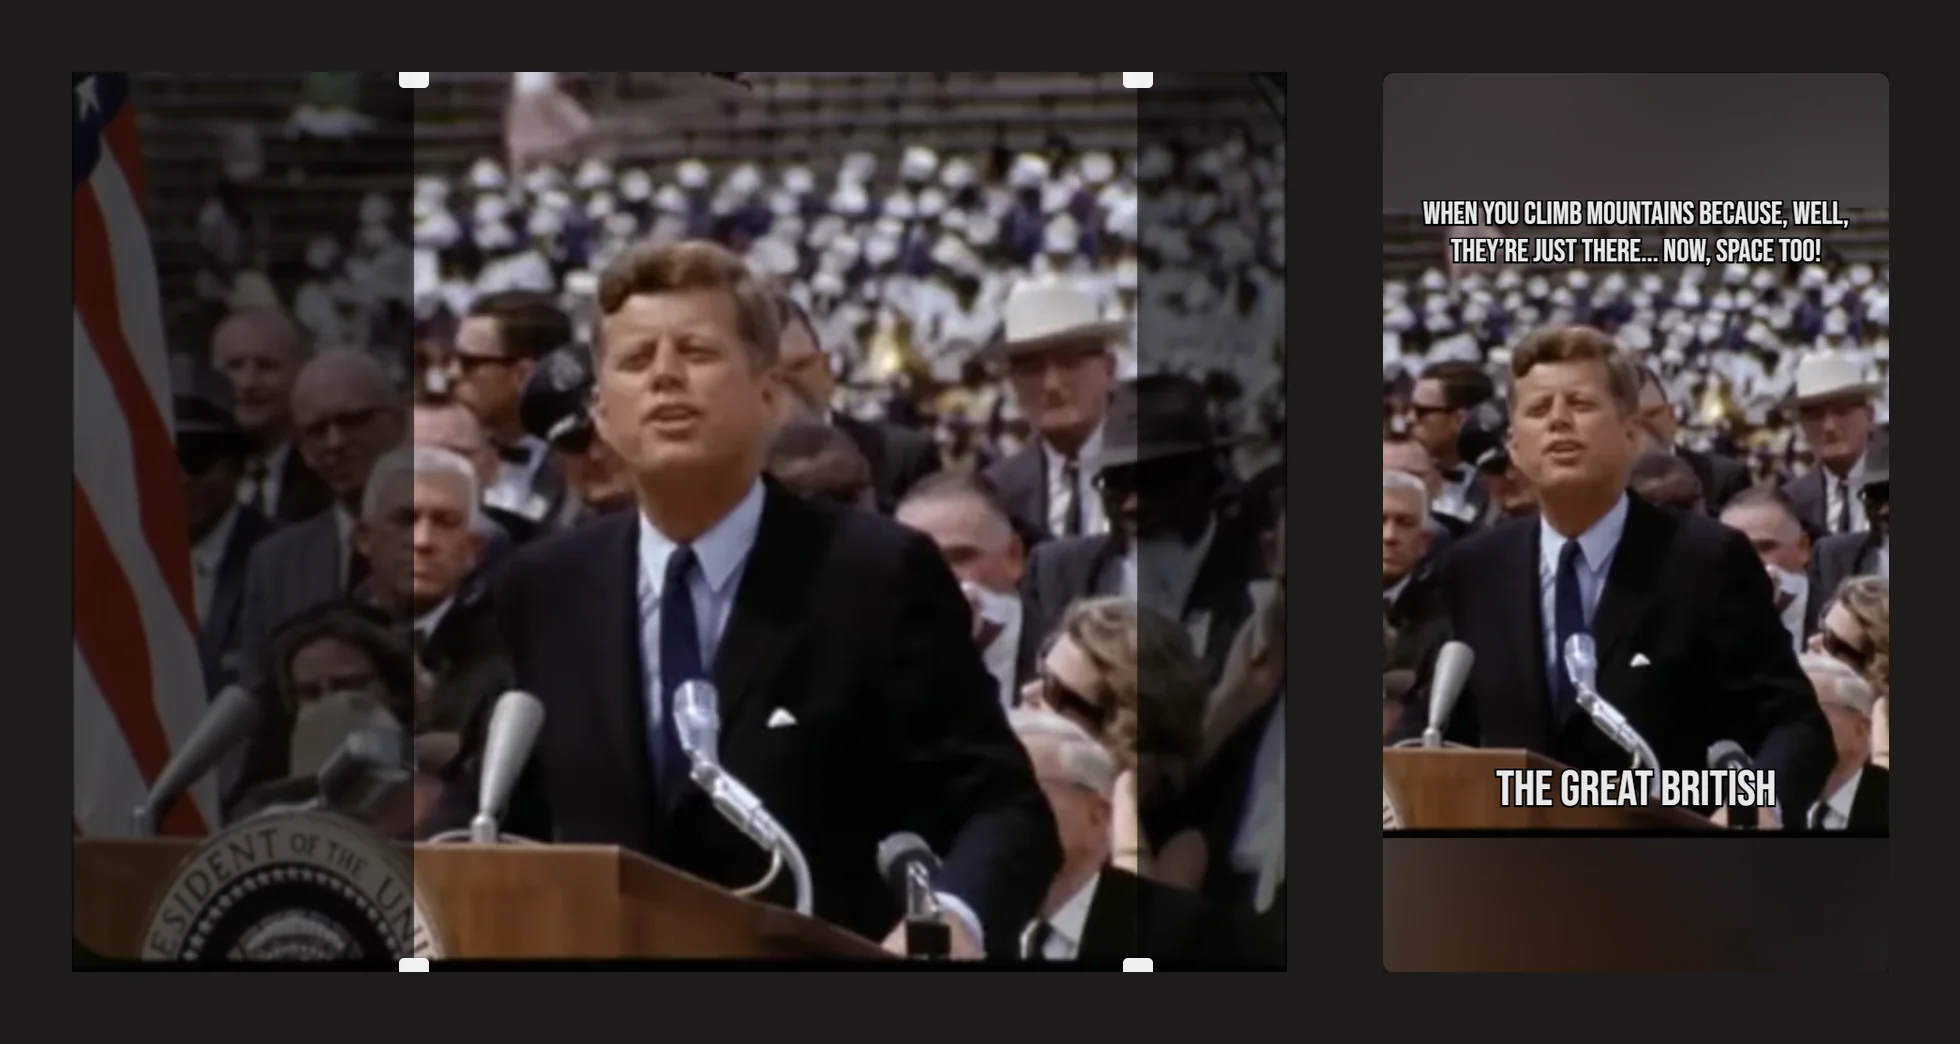
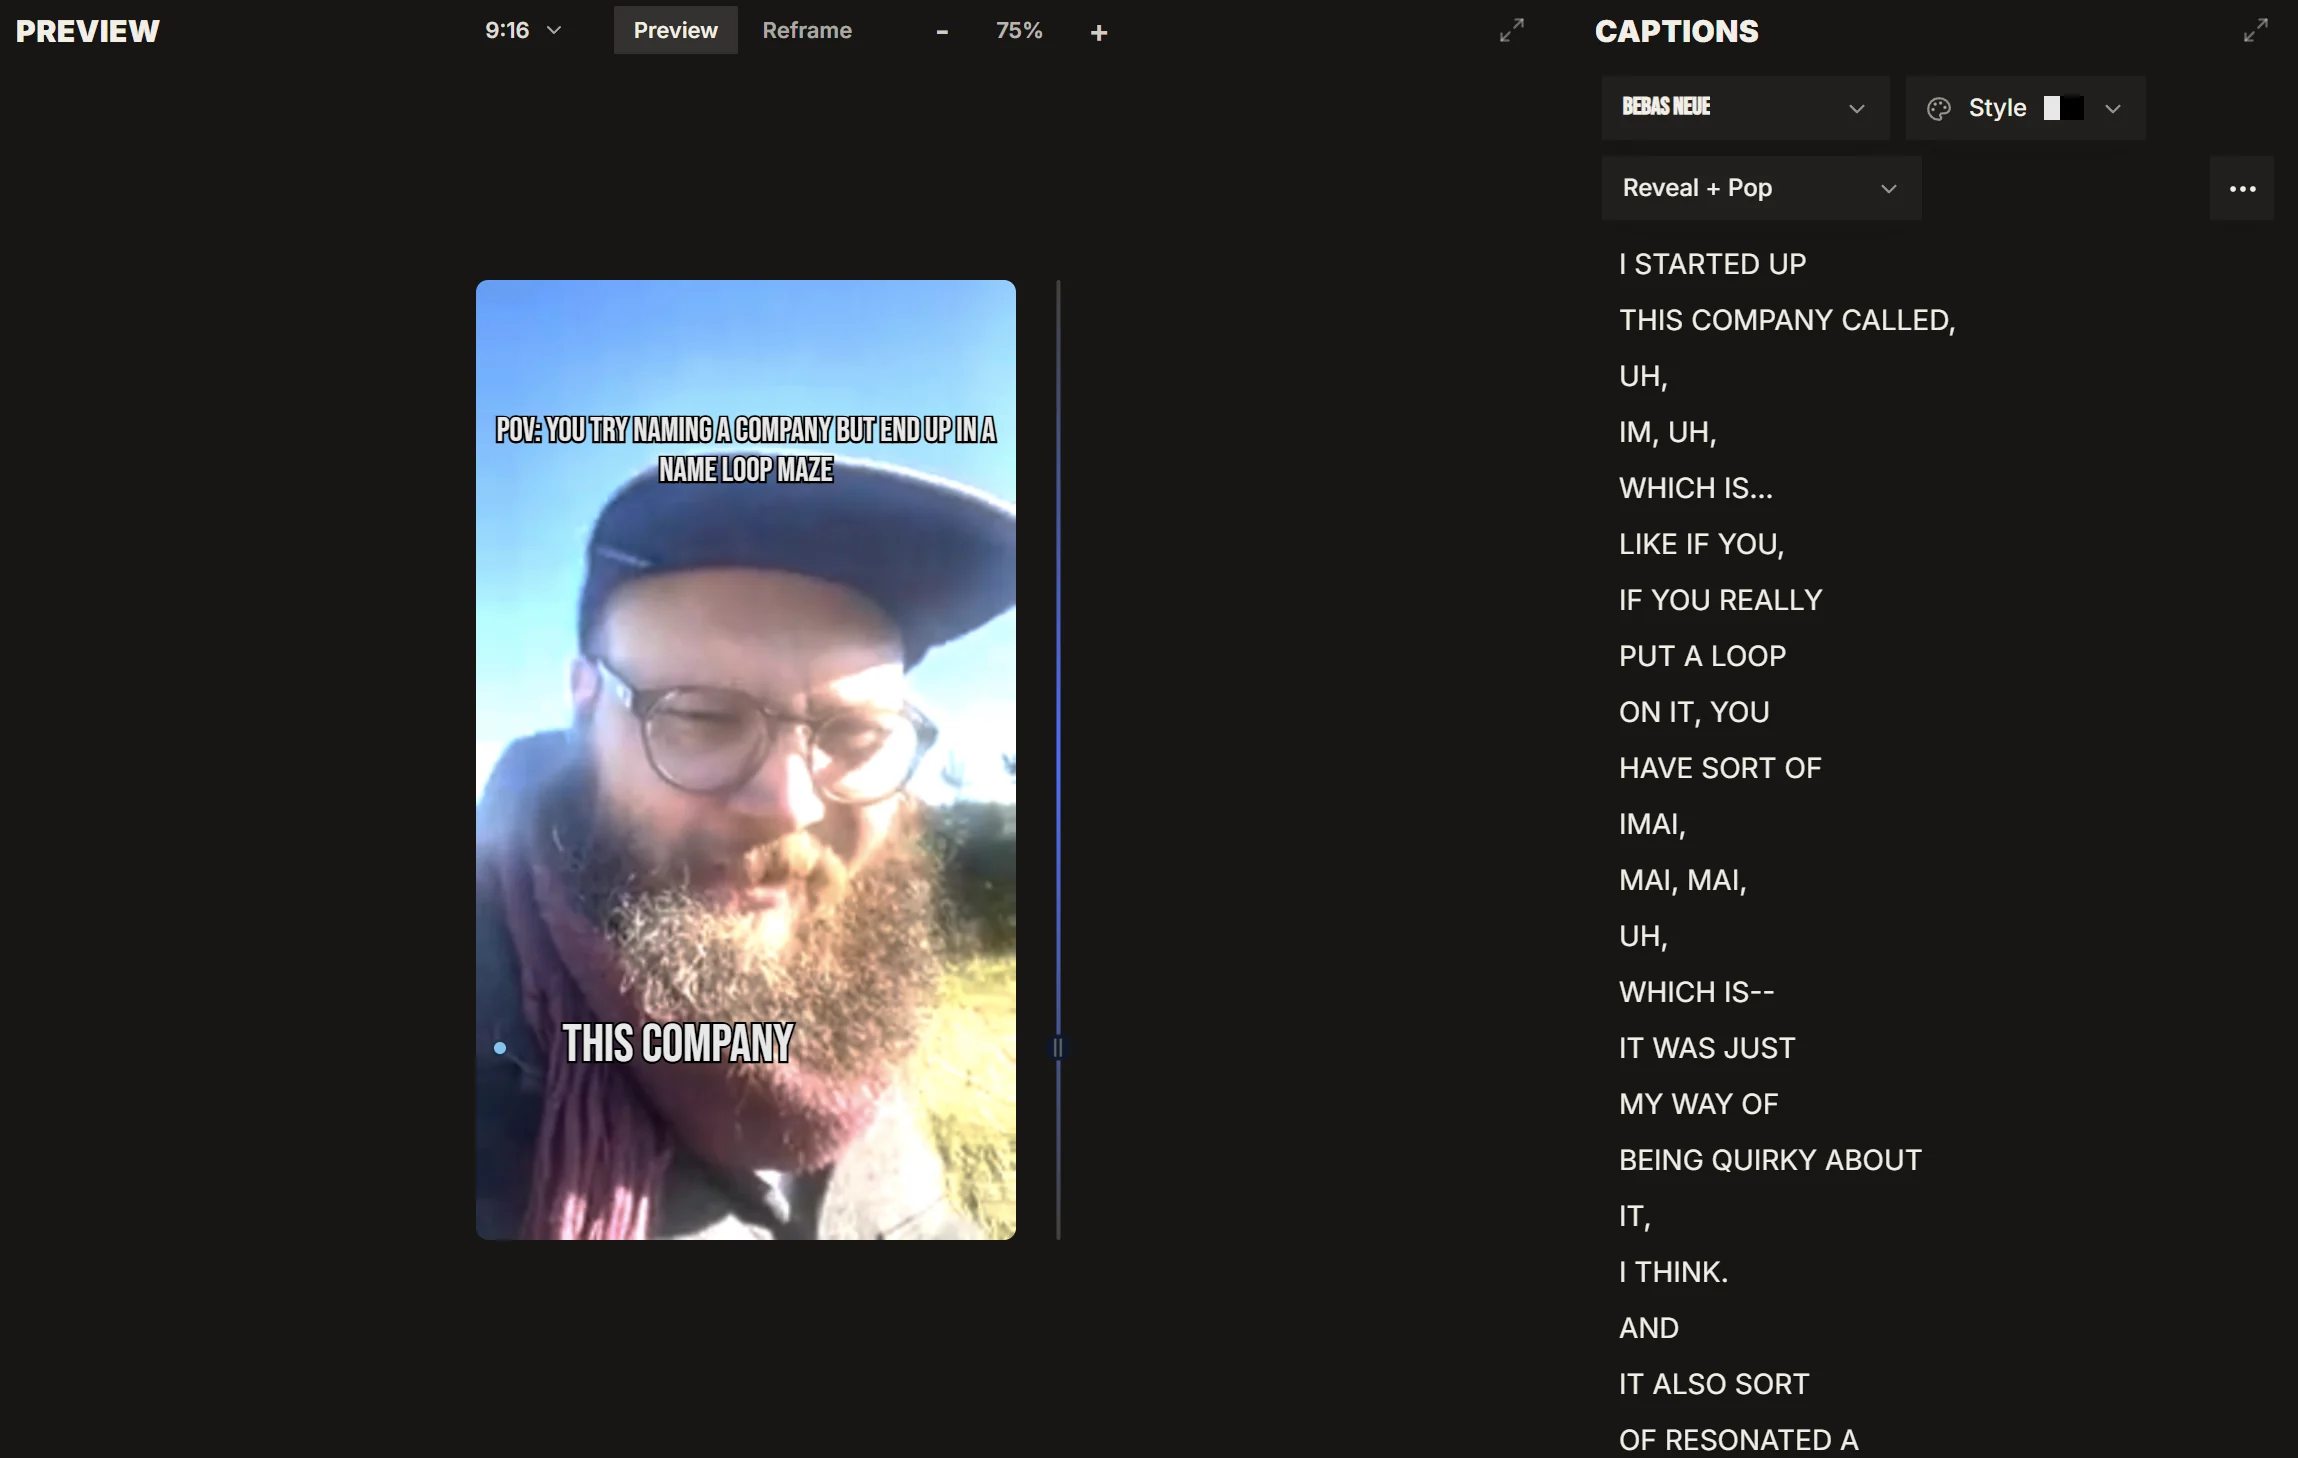
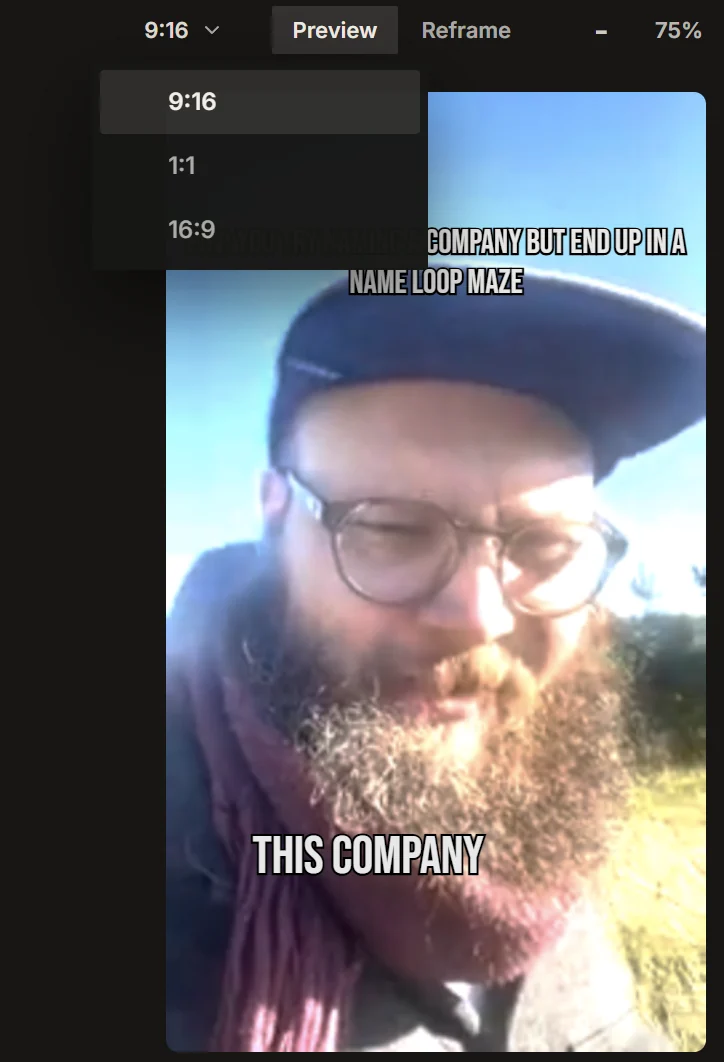
Review the source and output with the available preview views.
- 04
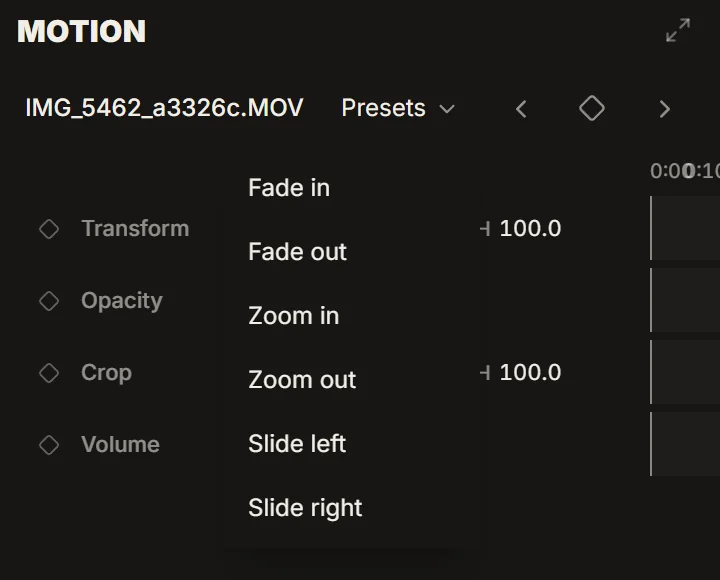
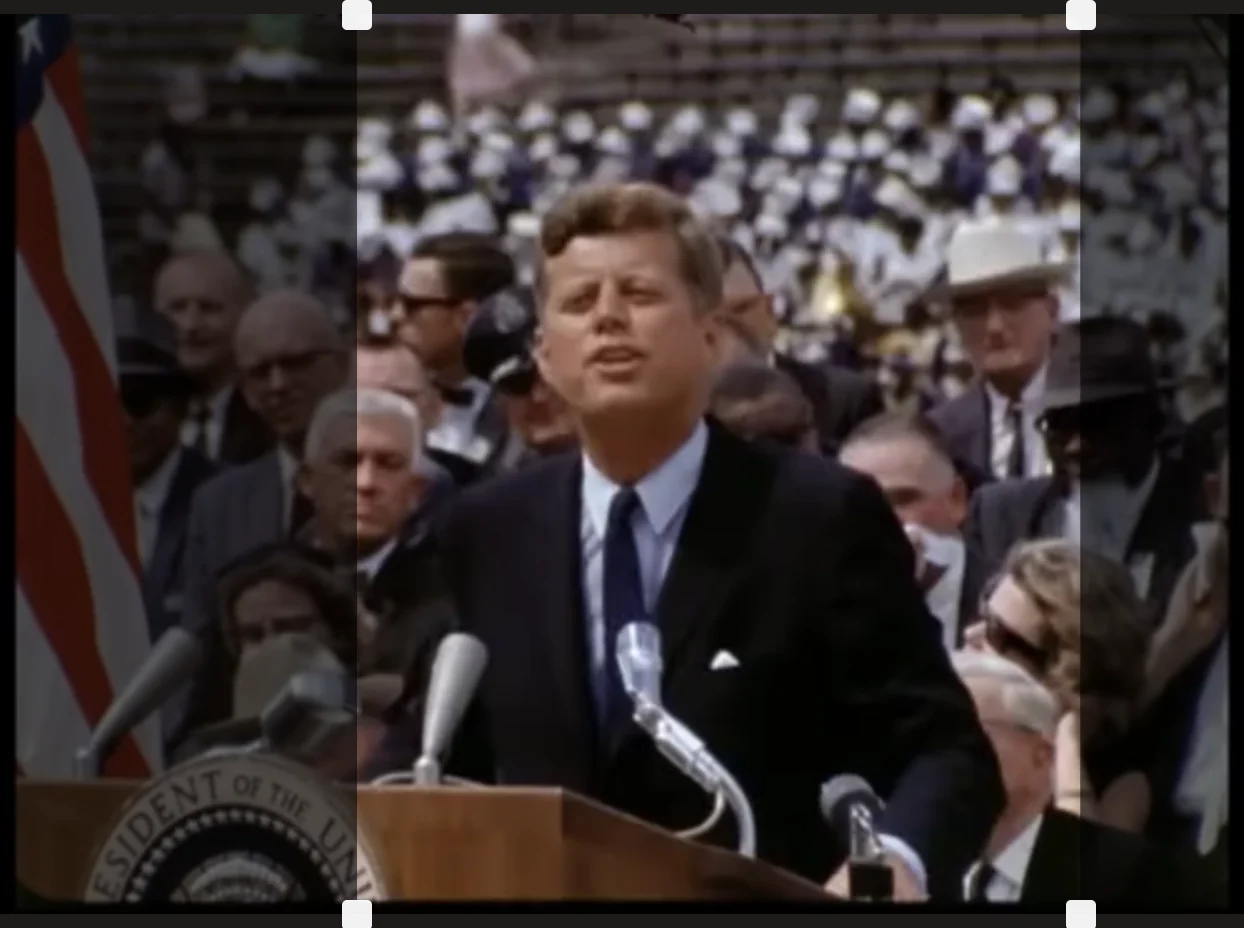
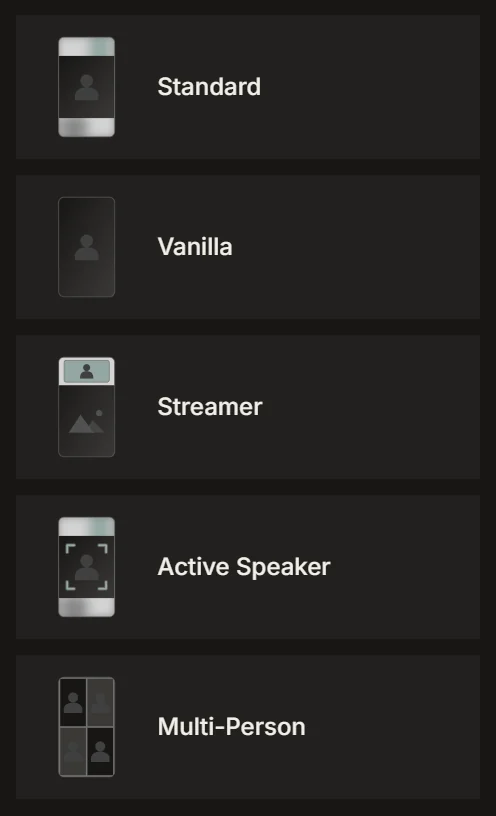
Adjust effects, framing, and layout where the automatic edit needs correction.
- 05
Save the timeline before exporting or publishing.
Set captions, framing, and export
Use reusable cut presets for consistent output, then fine-tune individual cuts before rendering.
- 01
Create or edit cut presets from your profile.
- 02
Choose the clip length, aspect ratio, reframing mode, and caption style you want generated.
- 03
Correct caption text and timing in the editor when needed.
- 04
Preview the complete cut before rendering.
- 05
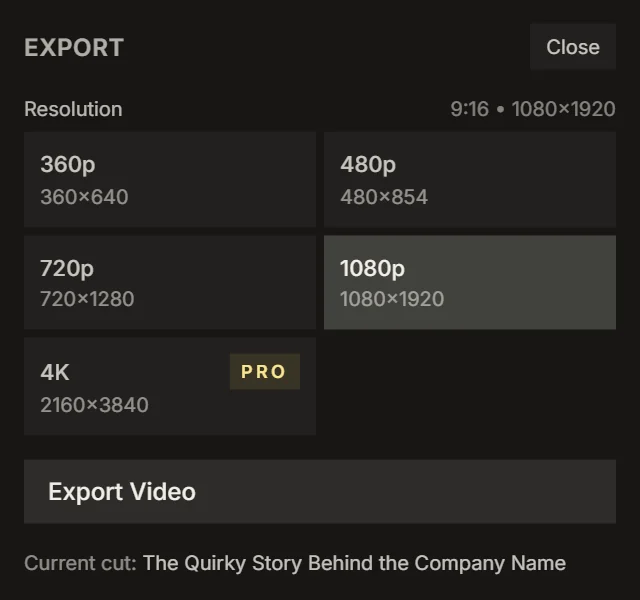
Export the finished cut and choose the required output resolution.
Connect and publish
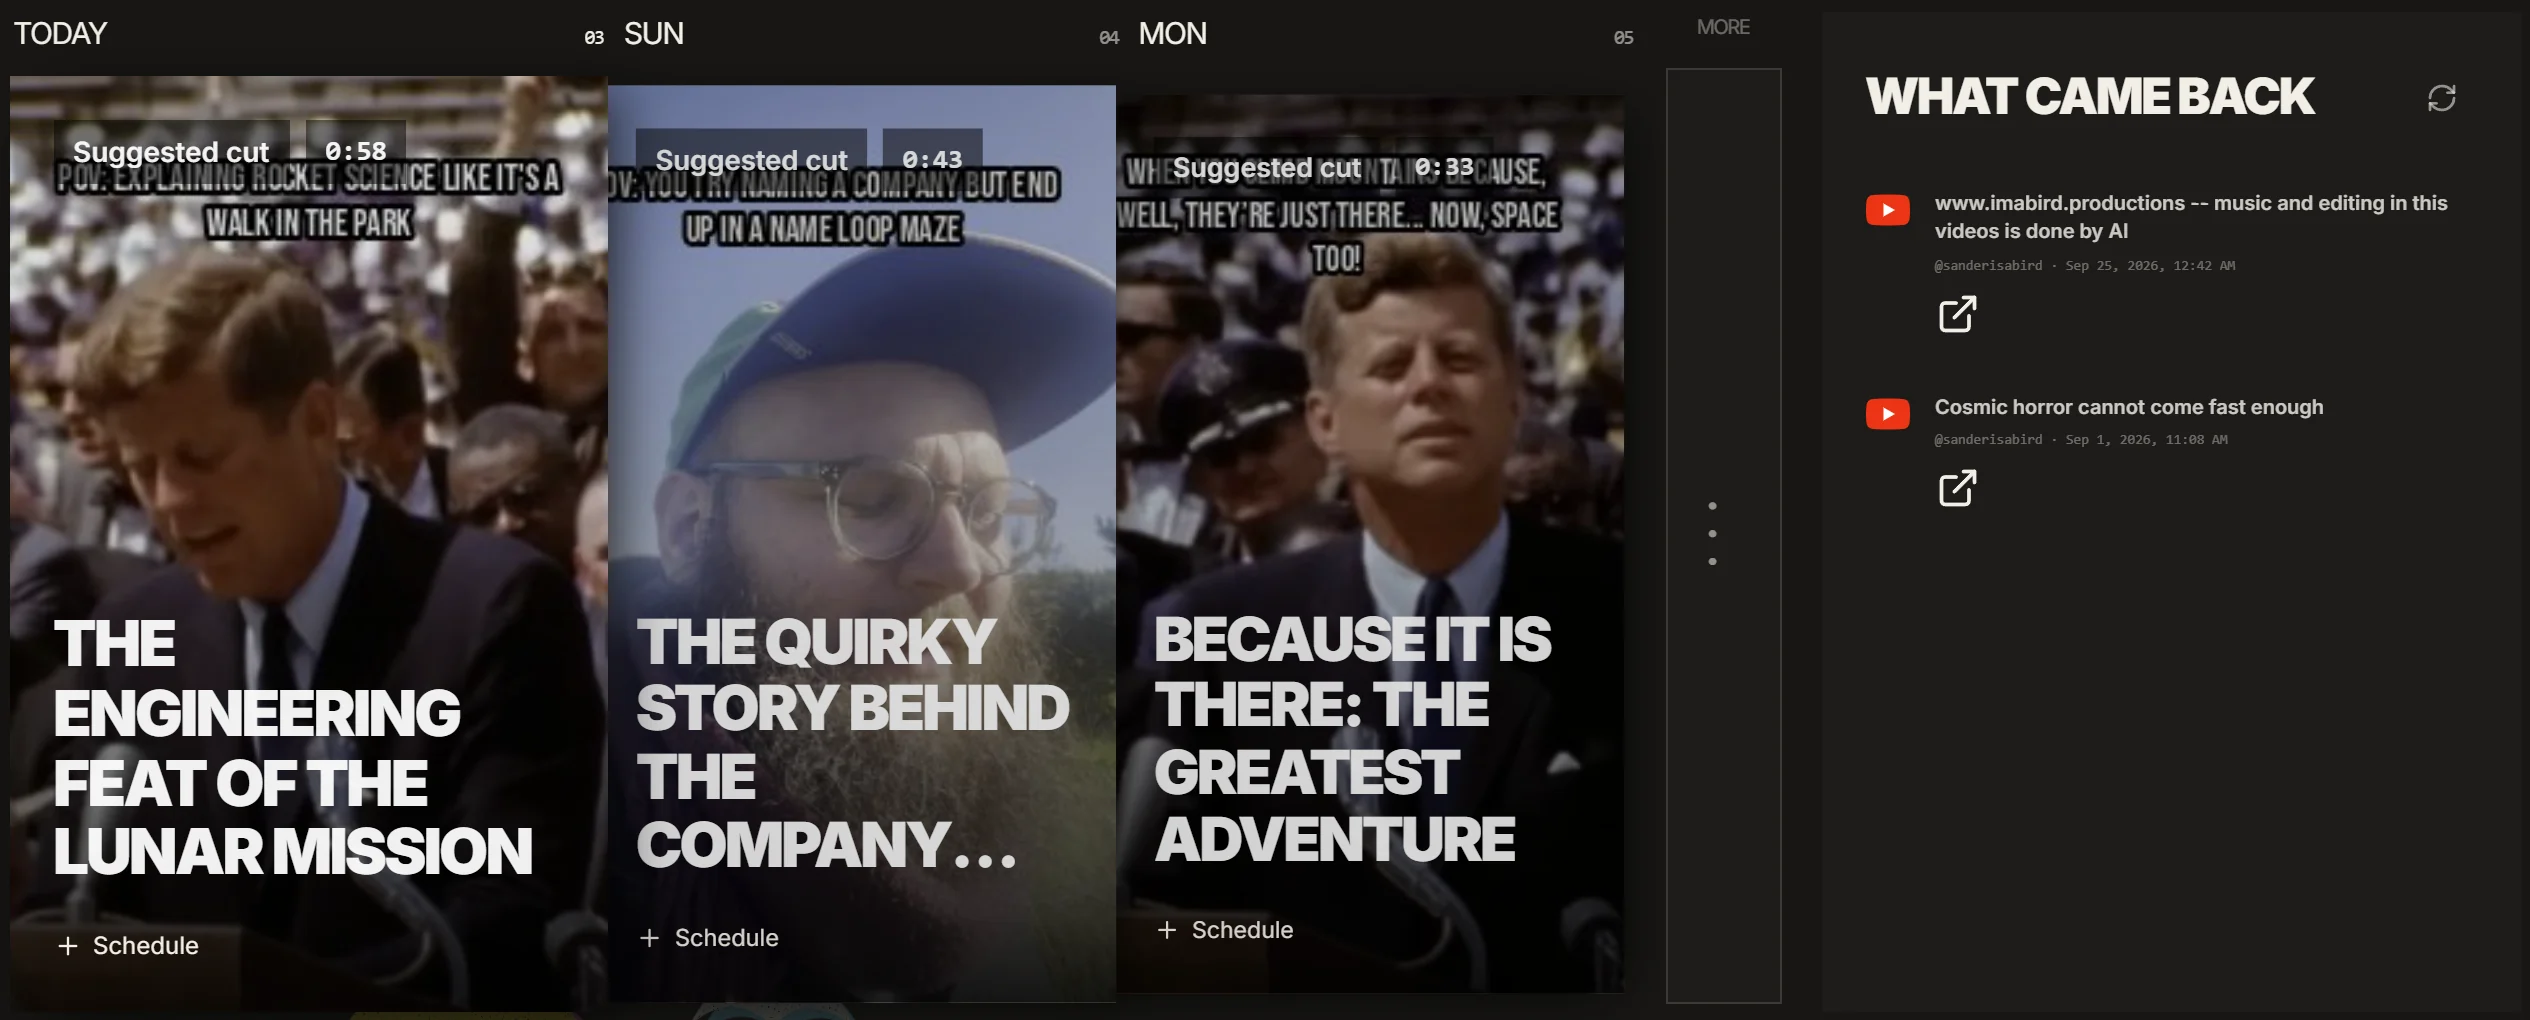
Connect supported accounts from your profile, then use Publishing to schedule finished videos.
- 01
Open your profile and connect the publishing accounts available on your plan.
- 02
Open Publishing and select the finished cut.
- 03
Choose the destination, date, and time.
- 04
Add the post caption and platform-specific details.
- 05
Queue the post and confirm it in the publishing calendar.
Building an integration?
Use the developer API to submit videos, check processing status, and bring IMABIRD’s clipping workflow into your own product or automation.